
This is a tutorial based off of the pattern that I have created. If you are creating your own pattern, it will be slightly different. My method was developed after careful study of a friend's (Mark Bradley) screen-used tunic (though it does not have the original collar or trim). There were some of the construction details that I found odd, but to be true to the screen-used uniforms, I followed the construction of the original as closely as possible. The following is a tutorial showing the construction of a tan Warrior's tunic, but it can also be used for the blue command version as well.
Tunic Tutorial-
Materials Needed:
- Buttersuede or Alova Suede material in tan for Warrior or blue for Bridge/Command (yardage will vary depending on your pattern size)
- Cream, white, or off-white cotton/poly lightweight material (yardage will vary depending on your pattern size)
- Scrap (approx. ½ yard) heavyweight material
- Velcro (at least 1 yard), tan for Warrior, black for Bridge/Command
- Hooks & eyes
- Thin batting
- Fusible interfacing
- Piping
- Trim, gold & black checked and solid gold for Warrior, silver & black checked and solid silver for Bridge/Command
- Embroidered patch
- Thread to match suede fabric and trim
- Dressmaker's pencil (water soluble)
- Ruler
- Optional bias tape (any color)
Cut out pieces following pattern instructions. The majority of pieces will need butter/alova suede and lining. The front and back stabilizer pieces get cut out of your scrap of heavyweight material. Once everything is cut out, zig zag or surge each suede piece, along outside edges, to it's corresponding lining piece. For the front and back pieces, be sure to include the front & back stabilizer. For front quilted section, be sure to sandwich the batting between the suede and lining fabrics before zig zagging.

Mark darts in front and back pieces, pin, stitch suede and lining together along center of dart (to prevent shifting).


Pin darts, sew, press toward center.


Turn bottom of quilted front section under ½" and hand baste with a contrasting thread. Starting at the bottom, mark horizontal lines approximately 1" apart (slightly more than 1", but the pencil line makes up for the difference well enough). After marking a line, top stitch along the mark. Mark another line approx. 1" away from your stitches, top stitch.

Continue up the front piece until you have quilted the entire piece. At this point, I recommend hand washing the quilted section with mild laundry detergent in luke-warm water to remove the dress maker pencil marks. (While the quilted section is drying, you can proceed with the sleeves.)

Pin front and front side to back at shoulders, stitch.

Sew embroidered patch to right sleeve. Turn up hems, and top stitch in place. ½" from bottom edge of sleeve, pin gold & black checked (or silver & black checked) trim across sleeves. Stitch in place on both edges. Pin solid gold (or silver) trim just above checked trim making sure not to allow gaps that show the fabric underneath. Stitch in place. Pin gold & black checked (or silver & black checked) trim above solid gold (silver) trim. Stitch in place.

For both sleeves, approximately 3½" from bottom edge of sleeve, mark and leave open. Stitch remainder of sleeve together. For portion of the sleeve that will be facing up after it is sewn to the tunic, fold back sleeve openings 5/8" and hand sew hooks to inside at edge. For remaining sleeve openings hand sew eyes so that when hooked to hooks makes the edges meet, without causing too much overlap. Set aside for now.


Turn right shoulder of front quilted section under 5/8" and pin to tunic front. Along right side of quilted front section, turn under ½" and pin to tunic front. Pin bottom of quilted front section to tunic front & remove hand basting. Machine stitch bottom of quilted section to tunic front. Hand stitch using a hidden slip stitch right shoulder and side of quilted section to tunic front.

Pin front to back at sides. Sew.
Turn up hem (this should be approximately ½", but you should double check), pin, top stitch approximately 1/4" away from bottom edge.

Place fuzzy side of Velcro along left side of tunic front, face up. Pin. Stitch. Turn toward inside, pin, and hand stitch (I'm sorry, somehow I managed not to get a picture of that step).
 Pin sleeves to the tunic, matching under arm seams, making sure the right sleeve with patch is on the right side of the tunic. Stitch. Clip seam allowance close to seam and zig zag or surge edges again.

Place the scratchy side of the Velcro on the tunic front side piece. This should be about 1½" in from the edge, but you should try on the tunic to be sure how it fits before attaching the Velcro (I placed mine too far to the edge [as seen in this image] and had to pick it out after I tried the tunic on and realized it wasn't tight enough.)

*Side note* You may wish to place some spare fuzzy side Velcro over the scratchy Velcro that you sewed to your tunic as you work on it, so that it isn't constantly sticking to your suede fabric.

Optional step: sew bias tape (color doesn't really matter but I would recommend sticking with brown/tan for the Warrior or blue/black for Bridge/Command) to the neck edge of your tunic.

Iron interfacing to collar pieces. Pin. Stitch collar pieces together, making sure to leave open at the left shoulder between piece C and D. Press.


Sew collar facing pieces together in the opposite way that the collar is sewn together. Press. (*Note that the facing in this picture is sewn exactly like the collar, which was my mistake...sleep deprived Mom and making it up as I go along sometimes don't mix very well...)

Create your own piping using bias cut suede fabric folded over the store bought piping (often, this can be found in the upholstery/home decor section). Pin well. Sew the fabric as close to the piping as you can using a zipper foot.

Attach the piping to the bottom edge of the collar (do not cut the piping yet). Stitch. Cut off excess piping.

Turn seam allowance up, toward collar. Pin gold & black checked (or silver & black checked) trim just above piping. Stitch in place along bottom edge, then top edge. Optional step: Pin solid gold (or silver) trim just above checked trim. Stitch in place.

Pin collar and collar facing together. Stitch along top edge.

Be sure to turn up 5/8" of loose edge on ends. Stitch.

Clip corners and curves, turn toward inside.

Pin gold & black checked (or silver & black checked) trim at top edge of collar. Stitch in place along top and then bottom of trim.

(Another missing picture, sorry about that!) Pin the collar to the tunic, being sure to match the right shoulder seam with the seam of C & D on the right side of the collar. Match the center of piece A with the center front of the tunic. Match center of piece E with center back of tunic. Match collar opening with tunic opening (edge of front flap should match edge of piece C and back flap edge should line up with edge of piece D. Stitch the collar to the tunic along the piping, using a thread that will blend with the checked trim (I recommend black).
*Note: To recreate the look of an ancient Egyptian collar/necklace like the show costumes did, try to keep the edge of the collar as round as possible. It is true that some screen-used tunics have a slight "V" to the front of the collar, but this is a tailoring flaw. Ancient Egyptian collars are round, that is what the costume designer was going for: round collars.
Pin fuzzy Velcro to the front opening edge of the collar, much like with the tunic front. Stitch. Turn toward inside, pin, hand stitch. Pin scratchy side of Velcro to shoulder. Machine stitch in place. Optional step: Sew a hook and eye at the top of the collar to help keep the Velcro closed. Hand stitch collar facing to inside of tunic.

Your tunic is done!

Pants Tutorial-
Materials needed:
- Buttersuede or Alova suede fabric in tan for Warrior or blue for Bridge/Command (yardage will vary depending on your pattern size)
- Cream, white, or off-white poly/cotton blend lightweight material (yardage will vary depending on your pattern size)
- 7" metal zipper to match color of suede material
- ½" to 1" elastic (about 1 yard)
- Hook & eye (the kind intended for pants, see image in tutorial)
- Matching thread
You will need to cut out two pants fronts, two pants backs, and two waistbands from your butter/alova suede fabric as well as your lining material. You will also need two belt loop rectangles of the butter/alova suede fabric only.
After all the pieces are cut out, zig zag or serge each suede piece, around the outside edges, to it's corresponding lining piece.
Mark the darts in the two pants back sections, and sew the lining & suede together through the middle of the dart (to prevent shifting).

Pin the darts, sew. Press the darts toward the center back.

Sew front sections together at center front, and back sections together at center back.

Sew the left side seam only, leaving open above notch. Then, using a basting stitch sew the seam together above the notch, clipping the stitches about every 2".

On the inside, with the top (waist) of the pants toward you, extend the right seam allowance. Open the zipper and place face down on the seam with the coil next to seam. Pin in place and sew with zipper foot. Make sure that the bottom of the zipper it at the notch and the top of the zipper is at the top (waist) of the pants.

Close the zipper. On outside, topstitch zipper (1/4" away from seam). Remove the basting stitches.


Pin & sew right side seam. Pin & sew inseam.

Pin & sew the two waistband pieces together at sides and un-notched edge. Clip corners, turn, press.

Pin waistband to pants, matching notches on one of the notched edges, keeping the other notched edge free. Stitch.

Clip seam where there are curves. Turn waistband to inside, turn edge under 5/8" inch and pin.

Hand slipstitch.

Sew the belt loop rectangles together along long edges, leaving ends open. Turn, press.

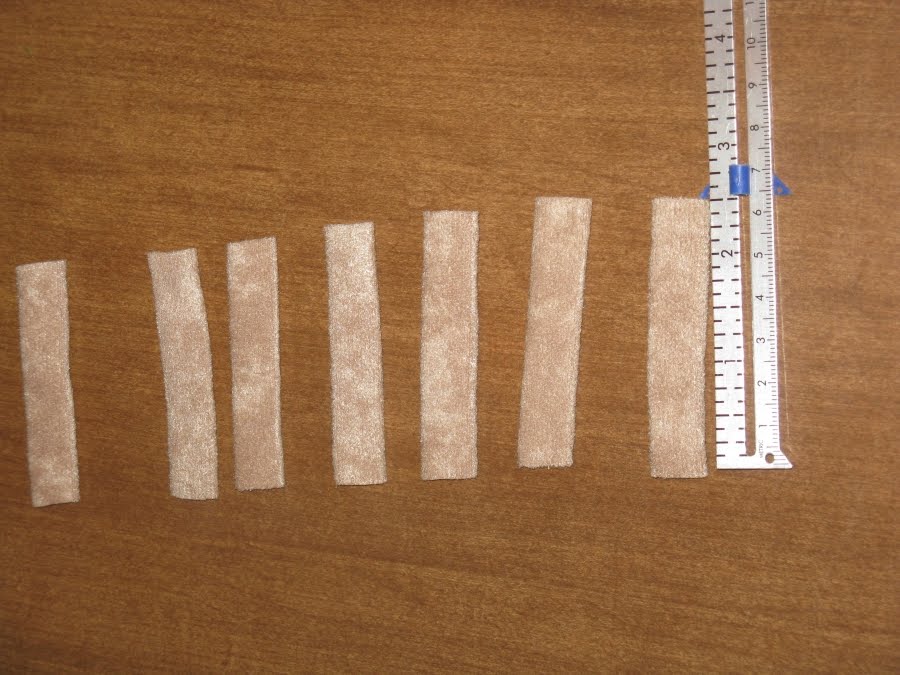
Cut into seven 2½" long pieces.
Place one belt loop at center back, with one on each side of it, approximately 2" away. Place one belt loop on the right side seam, one belt loop on the left side seam at the edge of the waistband, and two belt loops approximately 4" away from center front -one to the left and one to the right. Turn under edges about 1/4" (less if you can manage it) and stitch close to folded edge at the top of belt loop and the bottom of belt loop.

Try on pants, mark hem. Remove pants. Turn up hem, pin, stitch. Sew elastic to hem to create a stirrup.


Sew hook and eye to waistband at left side opening above zipper.


Your uniform pants are done. Happy Costuming!!

